How To: Punch an Expansion Tank Bladder Hole
Wessels Company offers replacement bladders for our line of removable bladder expansion tanks. The butyl bladders come with a standard hole in the bottom of the bladder, but sometimes a larger-sized hole is recommended for optimal installation.
Wessels manually punches bladder holes to the correct size. However, if a bladder you receive needs modification, you can follow these easy steps to correctly expand the connection opening. The size of the hole will depend on the size of the tank.
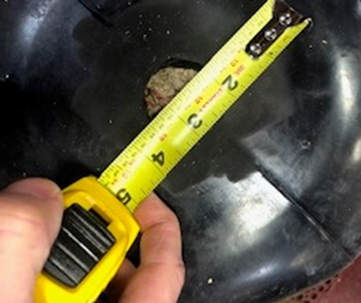
Tank Size: Hole for connection:
85 – 130 liters 1 inch
200-400 liters 1 ½ inch
400+ liters 2 inch
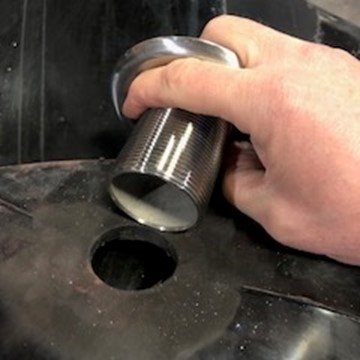
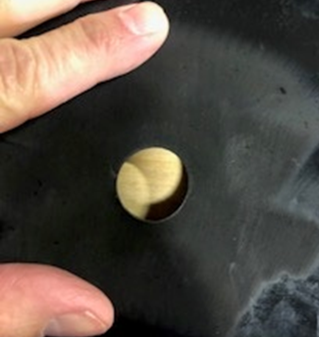
Be sure to carefully remove the bottom system connection and use the inside lip to trace a hole centered around the pre-punched hole at the base of the bladder.
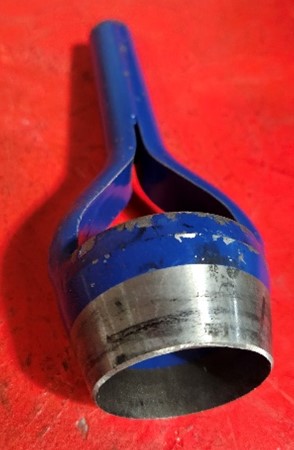
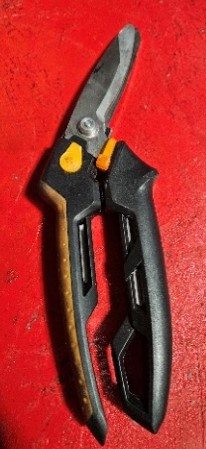
The hole can be expanded with either a leather punch or carefully cut with a pair of very sharp shears (gardening shears will work). If using shears, cut along the traced line from the previous step.
WARNING: If the bladder tears or is not cut based on the interior lip of the bottom system connection, the connection will be unable to seal and the bladder will not work properly.
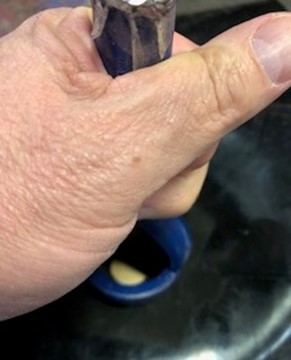
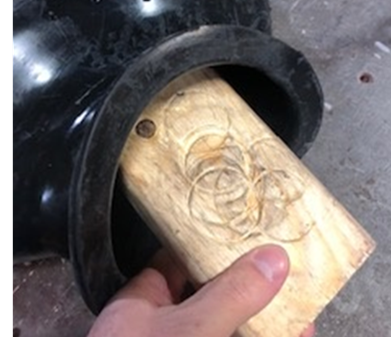
If using a leather punch, make sure it is the correct diameter. Once the correct punch is secured, place a piece of wood large enough to cover the entire hole into the bladder. Place the pre-punched hole over the wood and center the leather punch on top of the bladder hole. Strike the handle of the punch with a mallet until the metal of the leather punch punctures the wood and cuts cleanly through the butyl.
Once the hole is cut, replace the bottom connection, and replace the bladder.
For instructions on replacing a bladder, watch the Step-by-Step Guide Video on Youtube or reference the installation manual.
Please contact the warehouse at 317-888-9800 for more technical information on bladders or hole punching.

